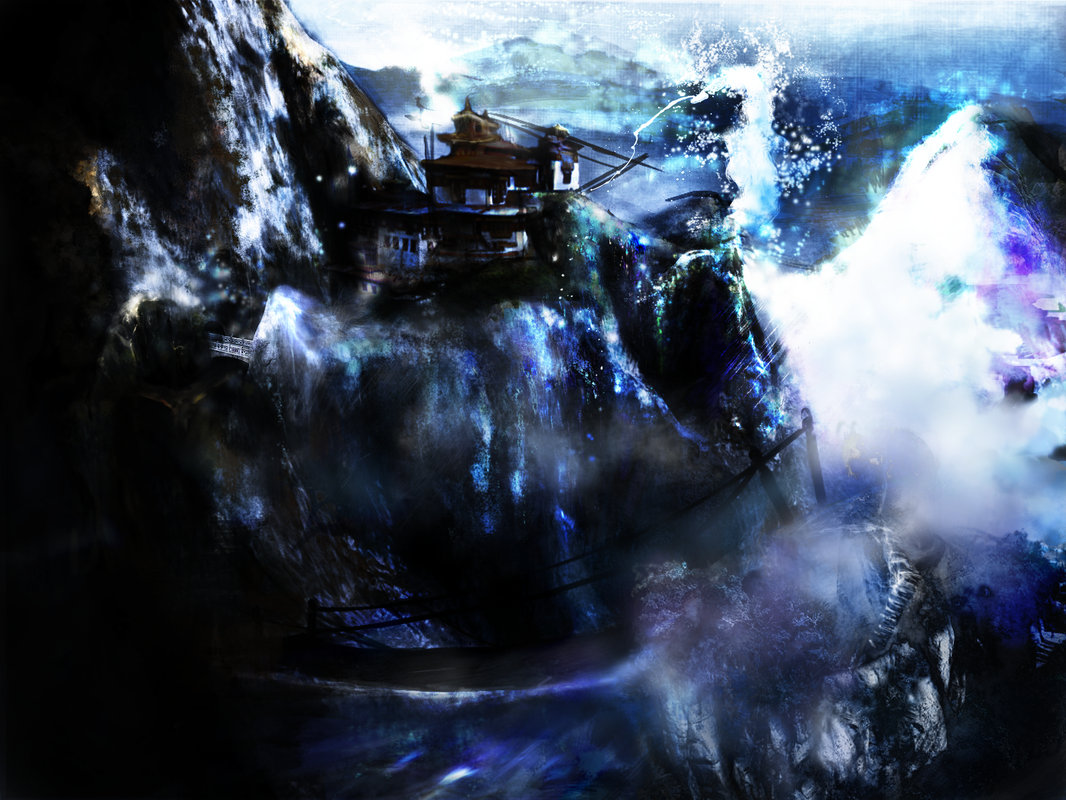
Production for "Pandasmagoria"
A matte Painting made using Photoshop CS5 and 3ds Max 2012
Introduction
I started out by doing a ton of research. From the outset of the project I knew I wanted to tackle a landscape piece. The next challenge was to create an interesting angle for the
composition – and my second main concern was of course what to put in
the landscape. my first thought was mountains.
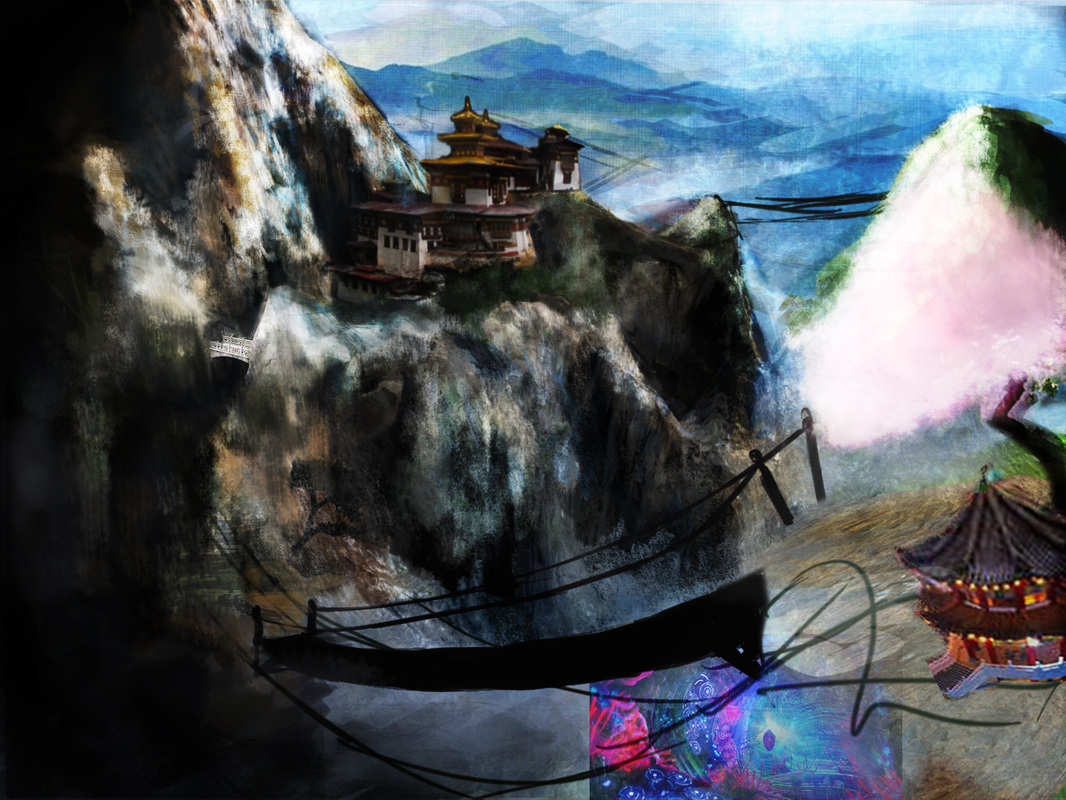
When I was younger I came across the Monasteries of the Shaolin, who live and train in these high peaks. After revisiting some old artwork, I decided to go forth creating a proper mountain scene with an exciting angle. I was instantly drawn to the narrow peaks of the Huangshan Mountains of China (think Avatar). My skills with digital painting were decent before attempting this project, but I feel that after spending 30+ hours planning and painting this scene, not only has my understanding of the process improved, but my confidence in attempting an artistically interesting and even deeply complicated scene has risen greatly. The key? Process and reference. What I didn't know about large landscape pieces (known traditionally as Matte Paintings) are that a huge portion of the work consists not only of acquiring reference photos but also creating a perspective based grid to work from and stitching together the actual pictures. This becomes the basis for your painting. Additionally, doing custom 3D work (to render from a desired perspective) is equally prevalent. With the help of orbiting 3D objects in Photoshop I look forward working with this approach more in the future. |
Reference
Step One - building a Mountain
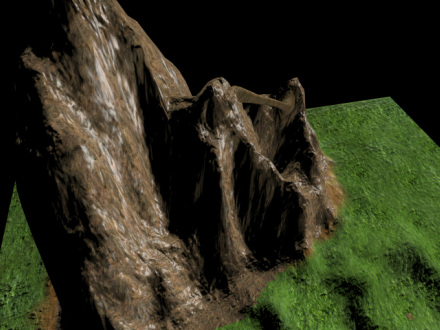
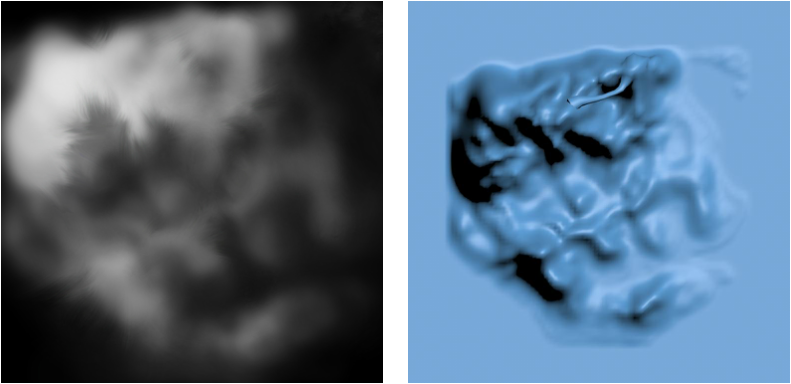
I started by making a simple height map in Photoshop with a
white brush over a black background. I have used this method for displacement
maps in the past so figured why not create a scene around a 3D model which I
can use and render in a desired perspective. I've used the displacement modifier before in Max with great results.
>> Click here to see a Halo map I made <<
The height map took about 10 tries to perfect, but once I was satisfied with the general shape I continued to tweak the faces of the peaks with soft select on the move tool. I then created a texture and normal map, and lit the scene. Rendering from various angles I eventually found a shot I fell in love with. Though it already looked pretty, the texturing felt a bit constricting when entering Photoshop, so I probably wouldn't texture it next time around.
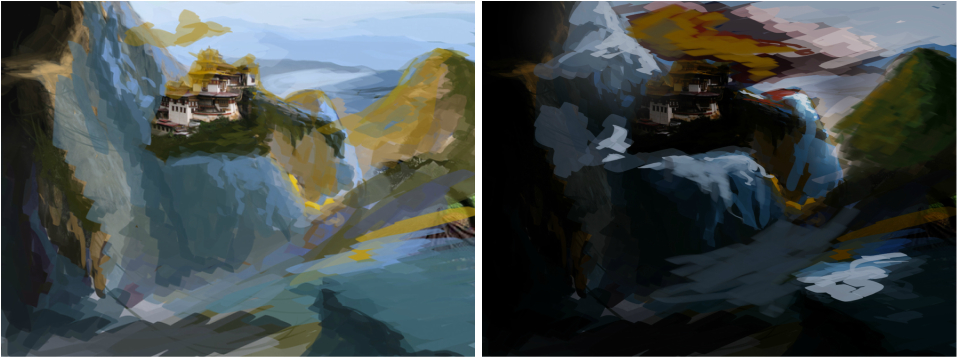
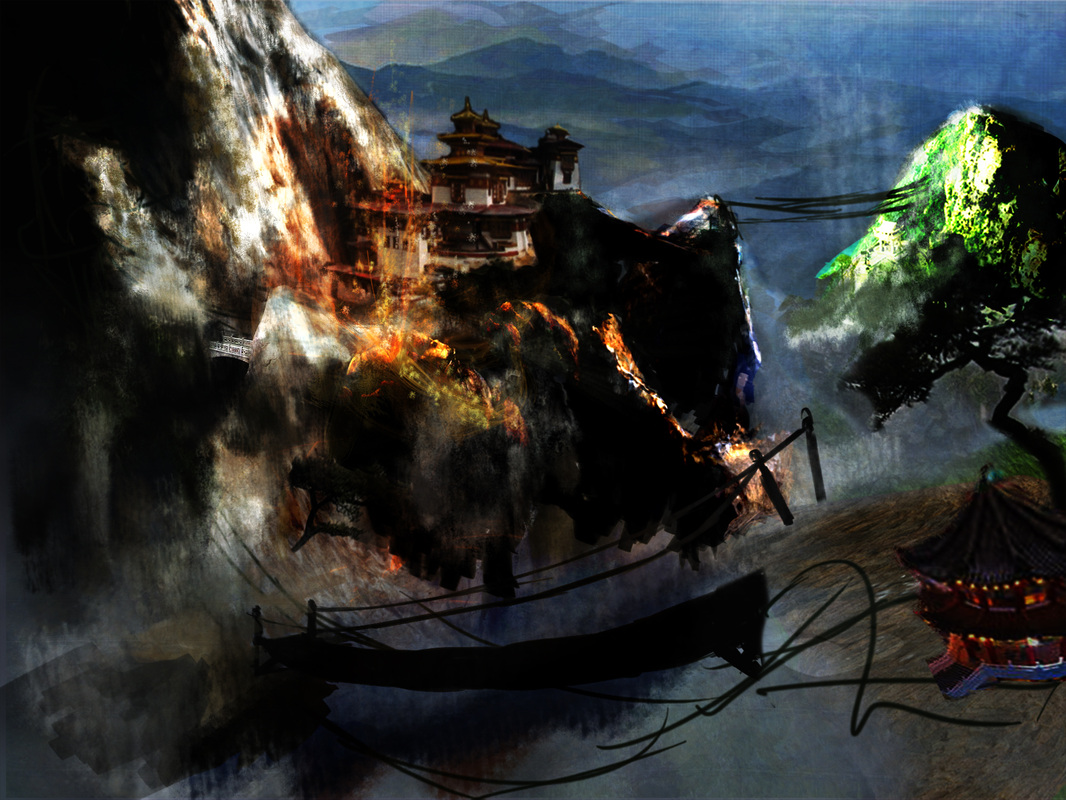
Step Two - Build a CompositionNext I started piecing together various rock structures, trees and buildings that I thought fit the scene nicely. Using the warp, puppet warp and perspective tools in Photoshop, I was able to come up with a nice basis for a foreground, mid-ground and background. Later I would begin painting over each piece with loose blocks of color and tone.
|
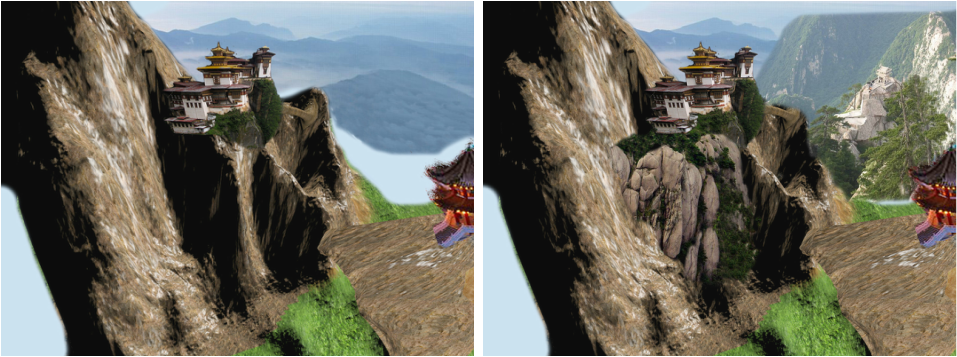
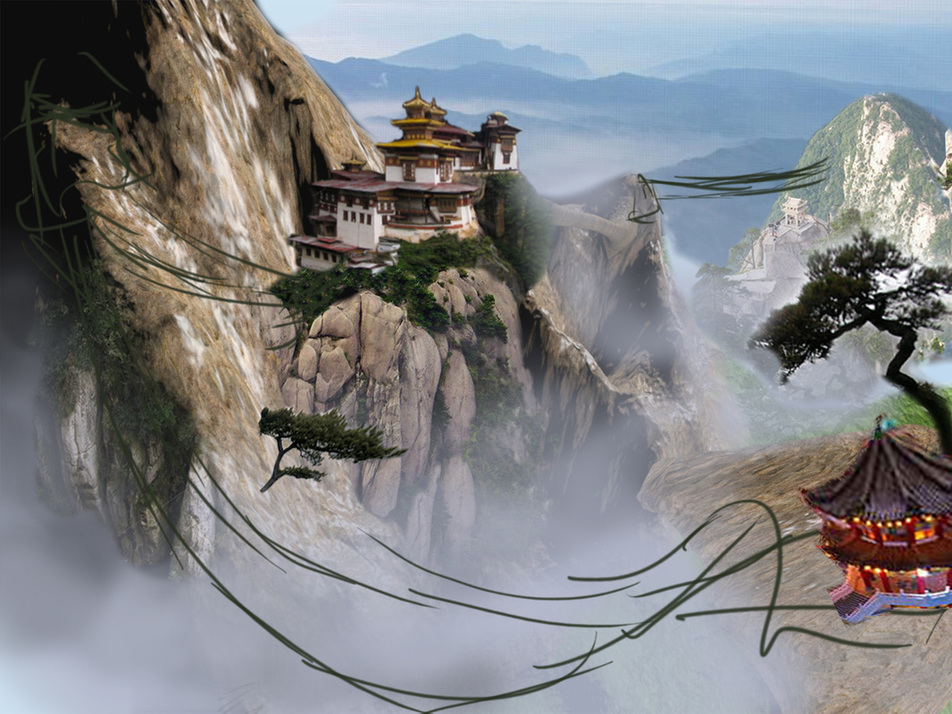
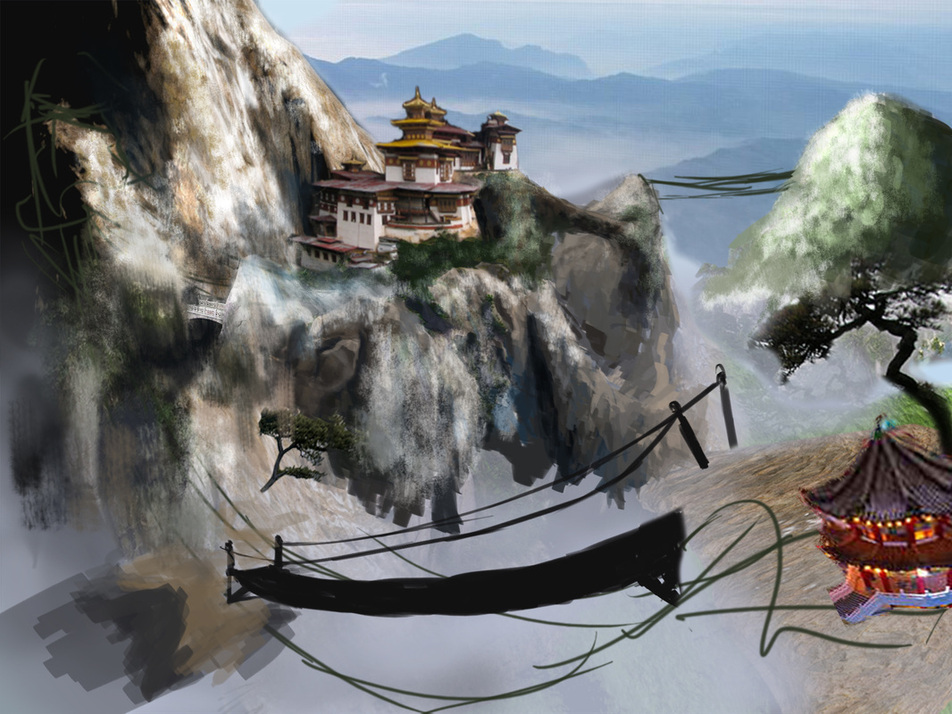
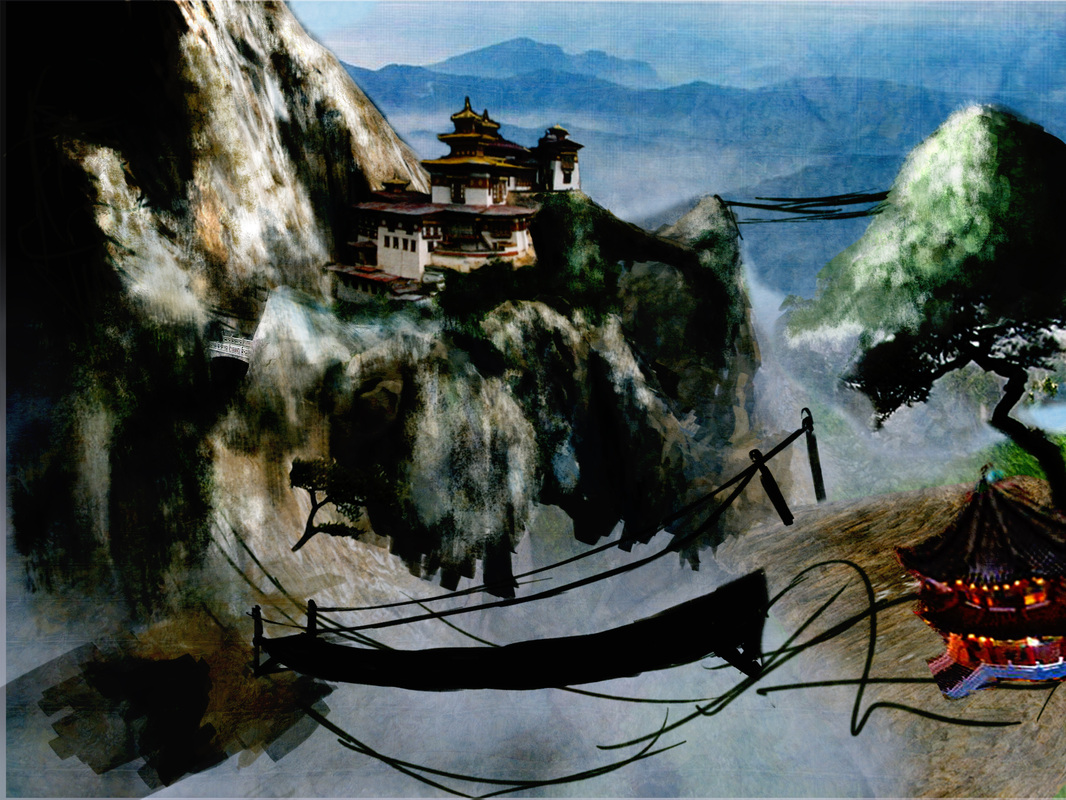
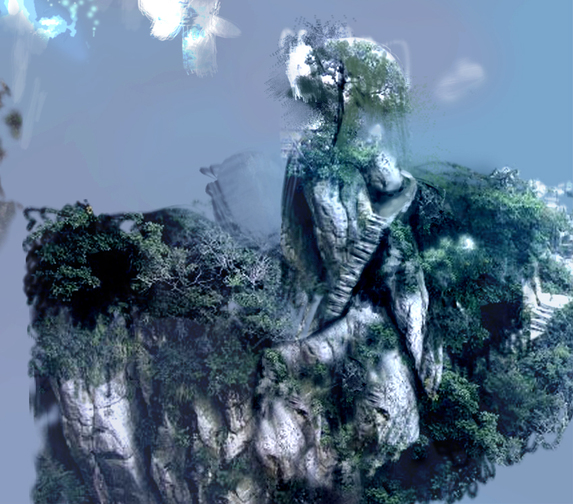
Composite image created from a small section of rocks. Using the clone stamp tool I was able to manipulate the shape of the rock formation. Then I started messing with blending layers, colors, levels and other adjusments
